Project Data
The Project Data tab is the first step in your project. This is where you upload your business requirements and add context that the AI uses to generate user stories, test cases, and test scripts.
Uploading Files
Upload your Business Requirements Documents (BRDs) to provide the AI with structured input.
Supported File Types
| Format | Extensions |
|---|---|
.pdf | |
| Word | .doc, .docx |
| Rich Text | .rtf |
| Plain Text | .txt |
| Spreadsheet | .xlsx, .csv |
Anything outside this list — PowerPoint decks, images, video — is rejected at upload with an "Unsupported file type" message rather than being stored.
How to Upload
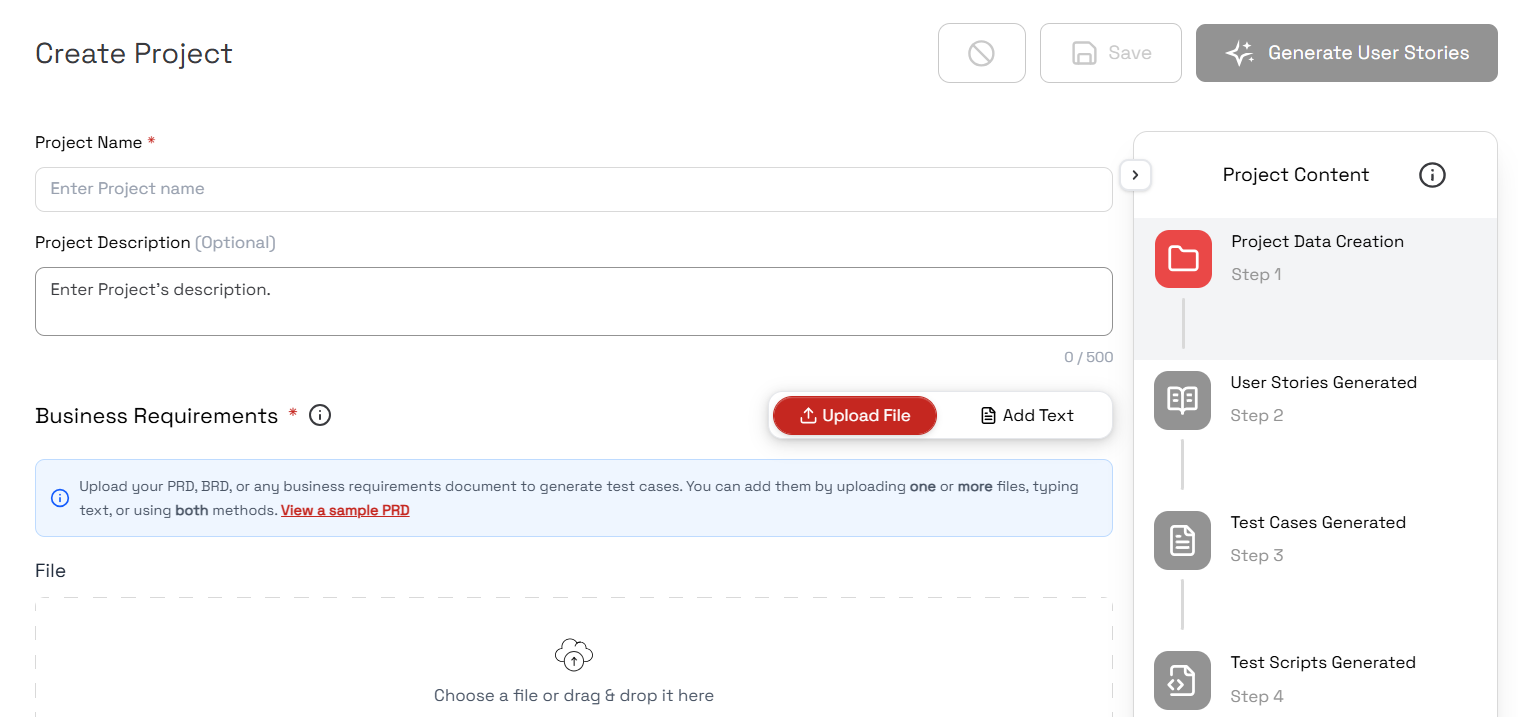
- Open your project and navigate to the Project Data tab
- Click Browse Files or drag and drop files into the upload area
- You can upload multiple files within the same project
- Review the uploaded files to verify they loaded correctly
Managing Files
- View uploaded file names and sizes
- Remove files before generation if needed
- Upload additional files at any time
Adding Text Context
In addition to files, you can add requirements as text directly.
Context Blocks
Context blocks let you add structured text input alongside your files:
- Click Add Context (or the text input option)
- Enter a title for the context block
- Write or paste your requirements text
- Save the context block

You can create multiple context blocks to organize different aspects of your requirements.
You need at least one input method (file upload or text context) before generating user stories.
How Project Data Feeds Generation
The AI combines all uploaded files and text context blocks to:
- Analyze requirements — Identifies features, user roles, and business rules
- Generate User Stories — Creates structured user stories from the combined input
- Chain generation — User stories feed into test case and test script generation
The more detailed and structured your input, the better the generated output.
Best Practices
- Be specific — Include detailed feature descriptions, validation rules, and user flows
- Structure your content — Use headings and sections in your documents
- Cover edge cases — Mention error scenarios and boundary conditions
- Use both methods — Combine file uploads with text context for comprehensive input
Next Steps
- User Stories — Generate user stories from your project data